Fried Chicken and Champagne

My favorite neighborhood wine store, the Wine Country, holds regular wine tasting events.  One recurring tasting that I have always been intrigued about is fried chicken and champagne.  I’ve never actually been, but the idea really caught my attention, and I’ve been dying to hold a fried chicken and champagne dinner.

I enlisted some friends who were intrepid enough to sign on even though I hadn’t bothered to explain the concept.  Which I realized when we were sitting down to eat, as there were questions about what this fried chicken and champagne thing was all about.  Naturally, my response was, “guys, it’s a THING.”  Then we took a moment to get all official about it, took bites of our fried chicken, then a sipped our sparkling wine.  It was delightful!

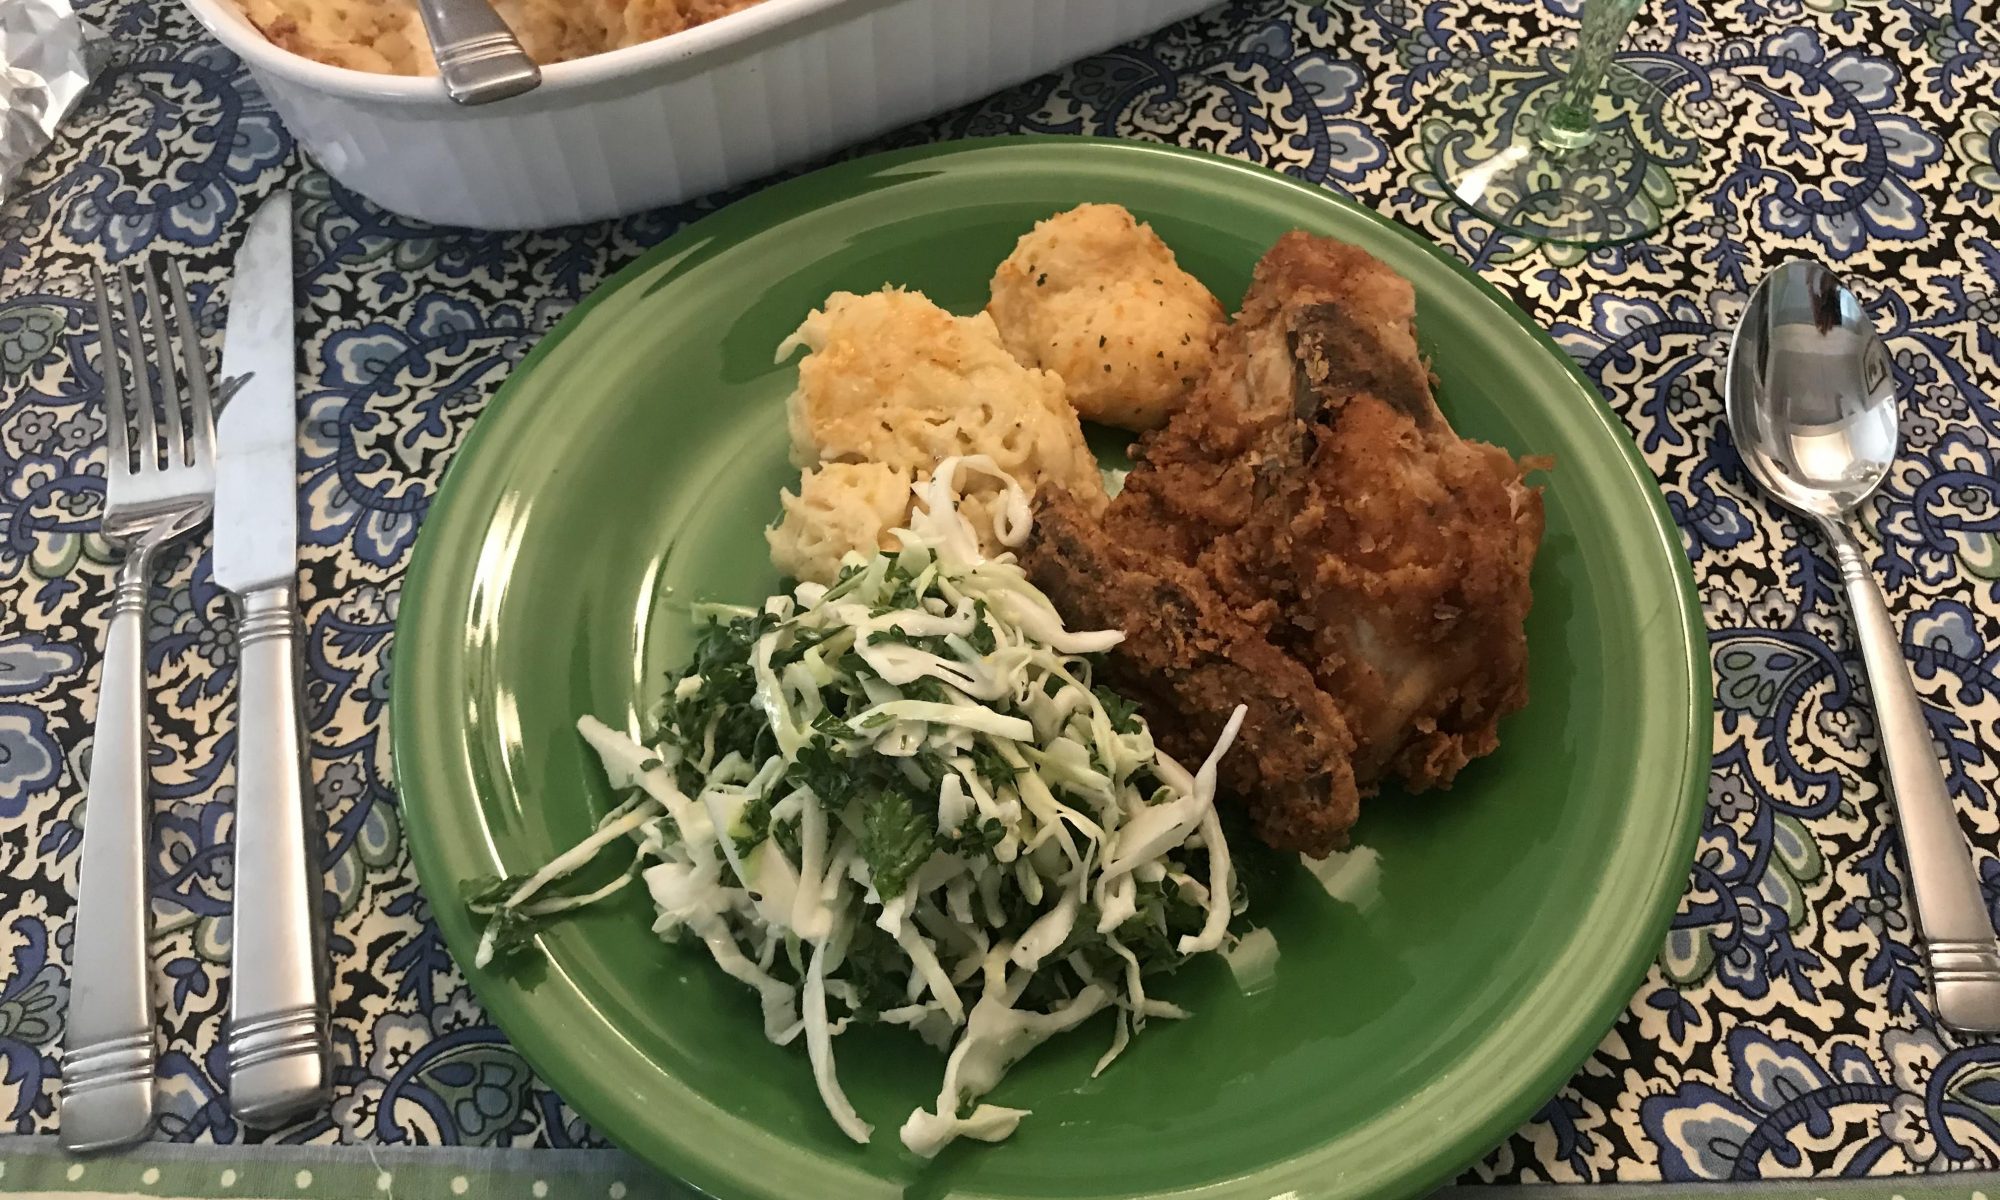
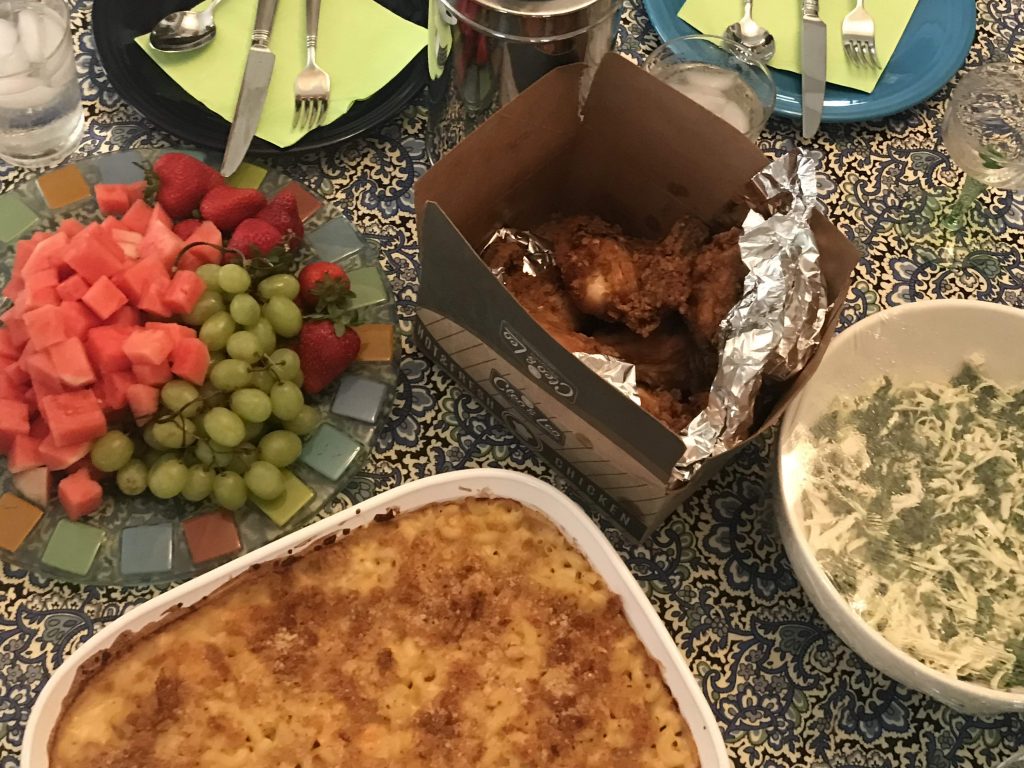
There is something great about fried chicken in the summertime.  Especially if you pick it up from Stater Brothers.  Seriously, it is very good.  I am sure that some people make incredible fried chicken at home, but I’m only southern on my husband’s mother’s side, so I feel that is something that I can get away with not doing.  I also have a “no frying at home” rule.  Well, “rule” is a strong word, but I have yet to come across something that I wanted to make enough to be up for frying it myself.

One of my friends picked up the chicken and made these amazing cheesy biscuits.  I enlisted another friend, who always makes the most decadent things, to bring the carb course.  She made the most incredible macaroni and cheese!  I think she said it was a Barefoot Contessa recipe (I think this is the right link).  It looks like you basically, start with four cups of Gruyere, then add more cheese. I’m drooling just thinking about it, this is the kind of macaroni and cheese that makes your life better.

photo credit: El Jimenez

So, what about the champagne you ask?  Ah, yes!  We didn’t get through all of the options, but the one that was a great pairing was J California Cuvee that another of my intrepid friends brought (what did I do?  I did the delegating, alright!).

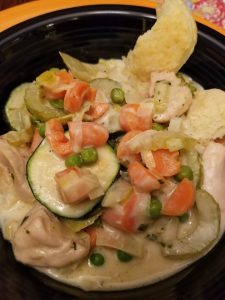
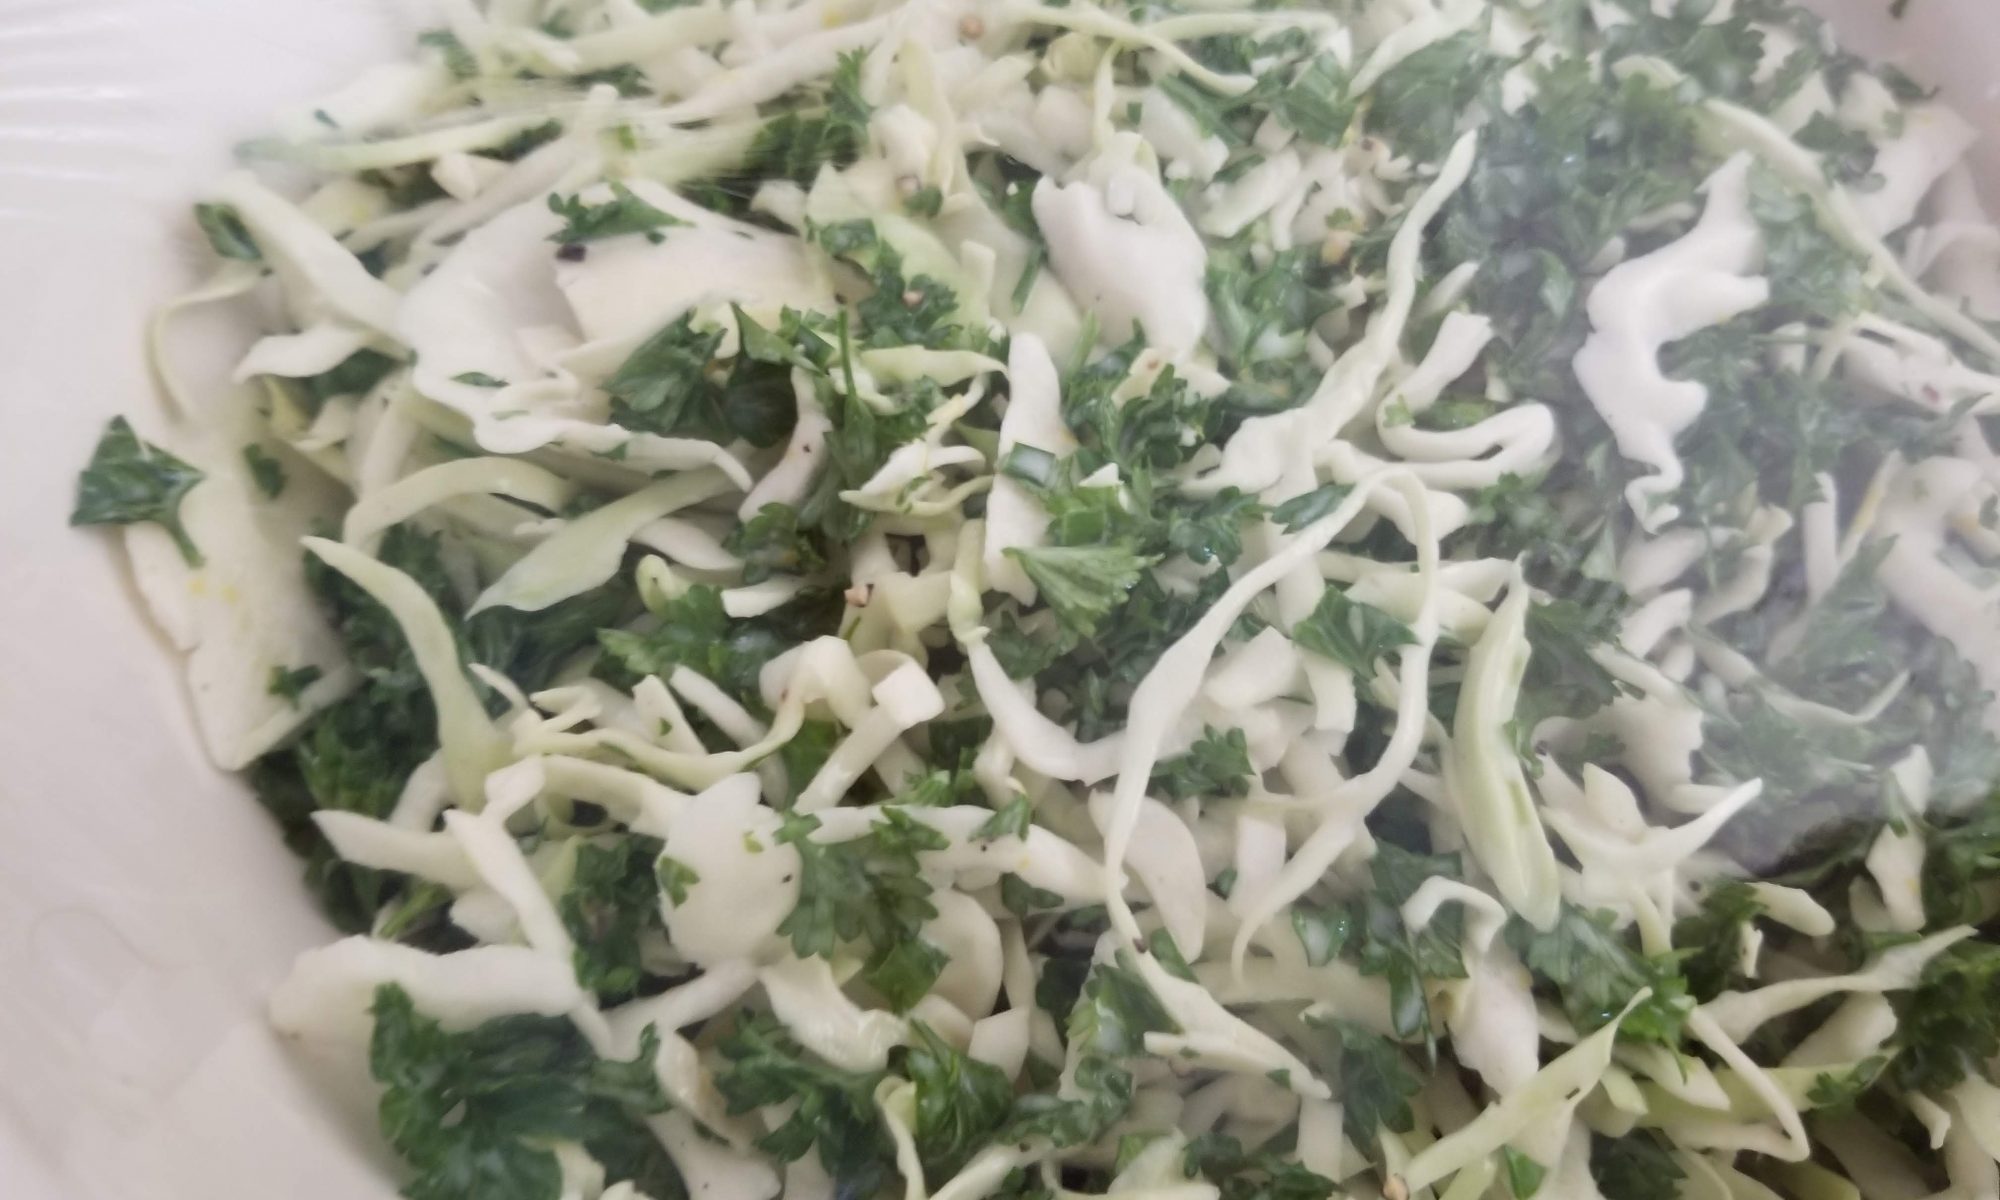
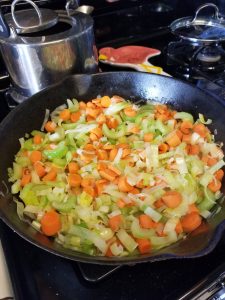
The final member of our intrepid group brought yummy fruit and a good dose of flair to the table.  With the fruit and the citrus herb coleslaw we felt that there was a least a semblance of healthiness on the table that night.

By far, the healthiest part of the evening was getting to spend time with great friends, sharing a meal and laughing about life.

Citrus Herb Coleslaw

I pretty much like any slaw: KFC coleslaw, ramen slaw, fancy Asian-style slaw with Napa cabbage, mango and jicama slaw from Trader Joes, the list goes on.  It’s the sort of thing that is easy to make at home too. So, last night I made a Citrus Herb Coleslaw.  Yum, right?  Ok, maybe not your thing, but this combines three things that I really like: lemon, parsley, and slaw. 

I had a little bit of some-timers when I was getting ready to make this.  I have made it before, but it’s been a good, long while.  I remembered the gist of it, but when I went to find the recipe in my Pinterest recipe hoard, it wasn’t there.  I think the last time that I made this was before I started hoarding all of my recipes in Pinterest!  Yikes!

Ok, let’s google that thing up.  Hmmmm…

I found something close, but it wasn’t quite what I wanted.  Good thing that I don’t care that much about following recipes.  I made up my own version and I’m going to post the recipe here for two reasons:

  1. In case you want to try it (it’s super healthy and delicious).
  2. So that I can find it the next time I want to make it again!

Cynthia’s Citrus Herb Coleslaw

Ingredients:

  • Non-fat, plain yogurt (Greek or other)
  • One lemon
  • One bunch of parsley
  • One bag of already shredded cabbage
  • Sugar
  • Salt
  • Pepper
  • Apple Cider Vinegar

First make the dressing. 

Combine:

  • 4(ish) tablespoons yogurt
  • Zest of the lemon
  • Juice of the lemon
  • ¼ teaspoon salt (or 2 pinches if you don’t feel like measuring)
  • Good bunch of grinds of black pepper (less than the salt
  • 1 tablespoon sugar
  • 1-2 tablespoons of Apple Cider Vinegar

Wisk it together.

Assemble the slaw:

  • Add 2(ish) tablespoons of snipped chives (optional)
  • Add 1 bunch parsley leaves, roughly chopped (I like curly parsley, I know it’s not fashionable, do what you want).
  • Add bag of shredded cabbage
  • Combine thoroughly
  • Cover and refrigerate for at least a little while

Enjoy!

No-Bake Cookie Adventures

When I was visiting my friend in Arizona we wound up in Flagstaff for lunch.  The place that we went had a big assortment of yummy, vegan sweets and K stocked up.  Her favorite of the assortment was a no-bake, vegan, peanut butter cookie.  She found a recipe online for a three-ingredient version that we decided that we had to try out.

Three Ingredient, No-Bake, Vegan Cookies

  • 1 cup creamy peanut butter (recipe calls for natural, unsalted)
  • ½ cup maple syrup
  • 2 cups rolled oats

Combine the peanut butter and maple syrup in a bowl.  Microwave in 20 second increments, whisk in-between until it is well combined.  Continue to microwave in 20 second increments until the mixture begins to dry out (4-7 times). Add the oats, form into cookies, freeze to harden.

For an added peanut butter cookie touch, we used a fork to flatten the cookies (cute right?).

I love how simple these cookies were to make.  I love that you didn’t even need the stove, you just use the microwave to do your “cooking.”  They were pretty yummy, but I do think the “dough” tasted better when it was warm.  If you are vegan and you are looking for something for your sweet tooth, this might be a good option for you.

I was interested to know what other no-bake vegan cookie recipes might entail, so I did a little googling and found this!

Peanut Butter-Chocolate No Bake Cookies

This is a chocolate/peanut butter cookie (click header for link).  It has coco powder, so you still get the gluten free thing, but you get a little bit of the body that you would get from a cookie that has flour in it.  You also use a little bit of coconut oil and some solid chocolate, which both add a bit of fat and I would think create a creamier texture.

I found about four variations on this same recipe, some used sugar instead of maple syrup, and one used coconut milk instead of almond (or other non-dairy milk).  I can see myself trying this out in some form.

No-Bake, Not-Vegan Cookies?

So, then I started to wonder (as one would) what a non-vegan no-bake cookie would entail.  Spoilers:  the recipes that I found were pretty much the same as the vegan cookies but included some form of milk and/or butter.  So whatever kind of milk you decide to use (or skip) and whatever kind of fat would be the variables between a vegan and a non-vegan cookie.  But all the no-bake cookie recipes that I looked at omitted eggs and flour (no surprise there!).

Since it’s starting to warm up, this may be a fun area of sweets-making to explore without having to turn on the oven (when it isn’t an ice cream experiment day at least).

Has anyone else tried any no-bake vegan baking?  Do you have a favorite recipe or trick?

Banana Ice Cream, Part II

Its been a while since I wrote about my experiments in homemade ice cream and I’m sure that you’ve been dying for an update.  Even if you haven’t, I have one for you anyway.

Banana Ice Cream, versions 2 and 3

My second attempt at banana ice cream was an optimistic exercise.  I used three bananas, two cups of whole milk, ¼ cup of brown sugar (why not!), and one teaspoon of vanilla.  The result had a good flavor, but a not so good texture; it was pretty grainy.  Ok, so probably whole milk only doesn’t have enough fat.  Let’s try again!

Maybe the third time’s a charm?  So, I tried three bananas, two cups of heavy cream (might as well go big), ¼ cup of granulated sugar, and one teaspoon of vanilla. This had a better texture, but it was a little too fatty for me (like licking butter).  Maybe it was time to try something else and come back to banana ice cream later.

Coconut Ice Cream, version 1

I was rummaging around in the cupboard and got the idea to try making coconut ice cream. After some Pinterest research, I decided to use: one can of coconut milk, one can of coconut cream, half a cup of sugar (we started with ¼ cup, but it needed a bit more), and a splash of vanilla. 

First, I dumped the contents of both cans in the blender and gave them a whirl to smooth everything out (it had been cold, so the coconut fat was separated and solid).  Then I added the sugar and the vanilla and dumped the whole concoction in the ice cream maker.  After about 15 minutes, I added about a cup of sweetened, shredded coconut.  I ran the machine for 20 minutes total before transferring the mixture to a container so that it could harden in the freezer.  This was delicious, the problem that it was super rock hard.  It would be great for popsicles though.  I decided to try again with half coconut milk and half whole milk, hopeful that will come out scoop-able.

Coconut Ice Cream, version 2

For my next coconut ice cream experiment, I tried one can of coconut milk, then the same amount of whole milk, half a of cup sugar, and a splash of vanilla.  It came out of the ice cream maker so yummy and it seemed like the consistency would be perfect.  But after it spent overnight in the freezer, it was rock-hard too.

I started to think that I need to go back to sweetened, condensed milk or bite the bullet and make a proper custard…

Princess Cake

I generally like most kinds of cake but to tell you the truth, the one kind of cake that I love above all others is princess cake.  Even though her name is “Princess” she is the queen of cake in my world.

If you don’t know what princess cake is, it is a wonderful creation that begins with white cake soaked with almond syrup. One layer is filled with raspberry jam and whipped cream and the other layer is filled with pastry cream.  Then the entire delight is frosted with whipped cream and covered with a beautiful, pale green layer of marzipan.

Your mouth is watering, I can tell.

The other day, while mindlessly scrolling the ‘gram, I came across a Martha Stewart Living video of someone making Scandinavian princess cake.  Somehow, this video gave me the idea that I could actually make a princess cake myself.  Ok, not somehow, it was because all of the ingredients were already prepared – the cake was baked, the pastry cream and the whipped cream were chilled, etc. 

I overcame my fear of making pastry cream (Martha Stewart has a great recipe for “no fuss pastry cream” that I shared with you when I made coconut cream pie) during last year’s cream puff obsession. Since I had no intention to make raspberry jam, almond syrup, or marzipan myself, I felt confident that I had at least a moderate possibility of success.

I assembled my ingredients and made the pastry cream a day ahead.  Then it was time for the big day.

I needed three layers of cake.  In the video, she cut out the rounds from a thin sheet cake.  Ok, I can do that, I have half sheet pans.  I greased the pans then covered them with parchment paper.  One box of cake mix filled one pan (yes, I used box cake mix).  Bake for 20 minutes.  Perfect!  I was making a 9” cake (using the ring from my springform pan for the mold) so I had to make a box of cake (good thing they were two for $3).  I wound up with four rounds and contemplated making an extra layer.

Back to work.  Cooled cakes were cut into rounds.  The extra cake and trimmings went into the freezer, I’m sure that I’ll come up with something to do with it.

Now it was time to make magic happen:

  • The ring was placed on an appropriately sized platter
  • Round of cake
  • Brush with almond syrup
  • Cover with raspberry jam (I bought seedless)
  • Layer of whipped cream
  • Round of cake
  • Brush with almond syrup
  • Layer of pastry cream (I wound up with about a cup of pastry cream left over to do something wonderful with)
  • Round of cake
  • Brush with almond syrup
  • Cover and place in refrigerator to set

A bit later, I retrieved the cake, unmolded, and frosted the whole thing with whipped cream. Then back to the refrigerator to set while I rolled out the marzipan.

This is the part of our program where I made not one, but two unfortunate discoveries:

First, I didn’t actually have any food coloring hiding in the depths of my cupboard with which to dye my marzipan green.  Bummer, but not that tragic, beige can be elegant, right?  The second discovery was perhaps a bit tragic: one 8 oz. package of almond paste is not enough to cover an entire 9” cake.  So, she wound up with a little beige overlay rather than an elegant, pale green coat.

The good news is that she did turn out fluffy and creamy and delicious.  The better news is that the result was well worth the effort.  Princess cake will be attempted here again very soon, and I fully expect that she will be properly robed when that time comes.

Risotto is My Jam

One of my cycle class friends likes to say this song or that song is his, “jam.”  I finally realized what he means is that whatever song it happens to be really makes him happy, like he wants to dance.  Based on that definition, risotto is my jam.  I don’t know why I like it so much, but it makes me so happy.

For years (many, many years), I was too intimidated to try to make risotto.  It was things like keeping a pot of hot broth going and the constant stirring.  Finally, about a year ago, the mantra I had been using when I would drive to work every day, “there is no fear, there is only love,” (thank you, Stevie Nicks) kicked in to my cooking zone and I decided that I would make risotto!

I found a great recipe on Pinterest for mushroom risotto and I started feeling like this was going to be not only possible, but successful.  I love that she has you use a cast iron skillet.  I love that you roast the mushrooms in the dry pan before doing anything else (it creates so much flavor, what a great step), and I love cooking with wine (even if sometimes you have to put some into what you’re cooking).

I was still not on board with the pot of hot broth and ladle thing, so I decided to use my tea kettle.  I feel very smart about this little maneuver.  And you know what else, the stirring isn’t that bad really.  I’m not saying that it’s because you have a bottle of wine open, but I’m not saying that it isn’t.

After my mushroom risotto success (which has been replicated a few times), I decided to branch out and try shrimp risotto.  I had found a recipe for jambalaya that includes making a quick shrimp broth with the shells and decided to try that technique again for the risotto.

What you do before you get started with the risotto: shell the shrimp, put the shells in a pot with 4 cups of water, bring it to a boil, then simmer for 30 minutes.  Use a colander over a bowl to remove the shells from the broth and tada!  You should have this pretty pink liquid that is just waiting to give your dish extra shrimp flavor.

I followed the same procedure as for mushroom risotto only without the mushrooms.  When the risotto is cooked and you add the butter and cheese, and then you stir in the raw shrimp.  Don’t panic, it only takes a few minutes for the hot rice to cook the shrimp (I may have panicked and put the pan in a warm oven for 5 minutes).

I would like to make this sometime for my vegetarian friend, but since I use chicken stock and she hates mushrooms, I need to come up with a different variation before inviting her over.

In the meantime, I just have to remember my cooking mantra, “there is no fear, there is only love.”

Banana Ice Cream

Ice cream is delicious.  I don’t think that there is a flavor that I would say no to.  But the one flavor of ice cream that I am truly obsessed with is banana ice cream.  I just love it.

Surprisingly, it is not that common in your neighborhood super market.  Some stores don’t even carry Ben & Jerry’s Chunky Monkey.  If they do, it is usually the only banana ice cream in the aisle.

I know that there is that easy cheat way to make banana “ice cream” where you freeze bananas and then blend them, but I never really got into that.  Fortunately, there is a new Cuisinart Ice Cream maker in our home (thank you Santa!) and I am now enabled to make banana ice cream any way and any time I want.

My first foray into banana ice cream making was sort-of cheat banana “ice cream”, using the ice cream maker.  I blended the five over-ripe bananas that were sitting on my kitchen counter with a can of sweetened condensed milk and a splash of vanilla, then poured the whole concoction into the ice cream maker.  It smelled divine.  Then I put the mostly firm concoction into the freezer to harden.  We wound up with a very banana-y frozen treat.  It had a lovely smooth texture, but it was a little too sweet.  We ate it all anyway.

Banana Ice Cream – 1st attempt

Mr. Man asked that we make “real” ice cream the next time (not banana flavor).  The booklet that comes with the machine has an easy recipe for vanilla ice cream that does not involve making a custard, so I got some supplies and got to work.  Whole milk, heavy cream, sugar, and vanilla – I can handle that!  I measured and almost followed the recipe (it called for three cups of heavy cream, but the store sold it in a two-cup container, so I went with a little more milk and a little less cream). It wasn’t Trader Joe’s Super Premium Vanilla, but it was still yummy.

Vanilla Ice Cream – 1st attempt

I made sure that I picked up a good-sized bunch of bananas when I was at the store for ice cream supplies so that I will be set to make banana ice cream again next weekend.  This time I’m going to riff on the vanilla ice cream recipe just using banana (not as many as last time), whole milk, and a splash of vanilla.  I’m thinking that the banana will sort-of be the substitute for the cream, but that I also won’t need to add any sugar.  It’s not that I’m trying to be healthy about it, I’m just lazy.  I will let you know how it turns out!

I’m looking forward to finding the right banana ice cream base and then experimenting with all the other little touches.  Maybe a peanut butter swirl?  Chocolate chips for sure!  Maybe banana pudding style with Nilla wafer crumbles and banana chunks?  The list is long.

What is your favorite flavor of ice cream?  I need some suggestions so that I don’t just make banana ice cream every week.

Another Dinner Experiment

I was looking for recipes on Pinterest for something with sweet potatoes and zucchini.  I didn’t find quite what I wanted, but I did find enough to give me an idea of what I was going to attempt.  It was time for another dinner experiment.

Sweet Potato/Zucchini Concoction

  • Slice (thin-ish) sort-of equal amounts of sweet potato and zucchini
  • Layer in baking dish (cute, right?)
  • Drizzle with garlic butter (I used 4 tbsps of butter, 1 clove of garlic, and a dash of herbs de Provence)
  • Bake covered at 350 for 45 minutes (I would probably try 30 minutes at 400 next time)
  • Uncover, sprinkle with Parmesan cheese, bake for another 10 minutes

I did find a recipe for blackened something and I thought that the blackened spice mix sounded like I might like to try it on the salmon that I was making to go with the sweet potato/zucchini concoction.  Of course, I didn’t have all of the ingredients, so this is what I wound up throwing together (I did measure!).

Blackened seasoning:

  • 1tbsp smoked paprika
  • ½ tsp cumin
  • ½ tsp oregano
  • ½ tsp garlic powder
  • ½ tsp salt
  • ¼ tsp black pepper
  • Dash of cayenne

For the salmon, my goal was to make sure that it came out with crispy skin.  I found a great article on Epicurious about how to get crispy skin.  I had already prepped the filets and they were hanging out in the fridge waiting to meet their fate.

This seemed like another great occasion for my trusty cast iron skillet.  Unfortunately, I did not do a very good job of making sure that the skin was as dry as possible before cooking.  The fish came out delicious, it was a very easy and fast method of cooking, but I did not wind up with the crispy skin that I was dreaming about. I’m looking forward to getting another crack at it, I think that I have learned my lesson and that crispy salmon skin is in my future.

P.S. Today is my 50th post!  Thank you for reading!!!

Coconut Cream Pie

On my Instagram feed the other day, Martha Stewart posted a recipe for coconut cream pie as a great make-ahead Thanksgiving dessert option.  That made me think that this might be the right time for me to share my coconut cream pie recipe with you!

I had been obsessing about coconut cream pie a few months ago and after reading a bunch of different recipes on Pinterest, decided to take matters into my own hands. Now, I am no Martha Stewart, but this did turn out delicious and I’m looking forward to making it again very soon.

For the Filling:

Start with Martha Stewart’s No Fuss Pastry Cream.  BUT, make the following tweaks:

  • Replace 2 cups of whole milk with 1 ½ coconut milk (1 can) and ½ cup whole milk
  • Replace 2 tbsps butter with 2 tbsps coconut oil

This pastry cream recipe comes out extra silky with the coconut milk and coconut oil. I think that I might like the texture more than when I’ve made it with dairy.

After transferring cooked cream to a bowl:

  • Stir in 1 cup shredded, sweetened coconut
  • Cover with plastic wrap (press the plastic wrap onto the surface of the cream)
  • Refrigerate for at least 4 hours to overnight

For the crust:

  • 1 box of Trader Joes Cookie Thins in Toasted Coconut flavor
  • ½ cup granulated sugar
  • 6 tbsp butter
  • 6tbsp coconut oil


  • Crumble cookies in the food processor
  • Add sugar, pulse to distribute
  • Add the melted butter and coconut oil, pulse to combine
  • Dump into pie plate and use a measuring spoon to pack it down
  • Bake for 7 minutes at 375 degrees

Let cool completely

Assemble the pie:

Fill cooled crust with refrigerated cream filling.  Cover tightly with plastic wrap and put it back in the fridge.  Let it sit there for AT LEAST 24 hours (48 hours is even better).  Top with freshly whipped cream and toasted coconut slivers before serving.

bonus points if you serve it on flamingo-themed plates!
Just a note to let you know that I will be taking next week off from the blog but will be back on November 26!  Have a wonderful Thanksgiving holiday!!

Deconstructed Chicken Pot Pie

Who doesn’t like chicken pot pie?  I like it enough that I don’t mind making it from scratch.  But, I am not great at winding up with something with the perfect filling-to-crust ratio and at some point, there are just a few too many steps for my liking.  So, I decided to make a “deconstructed” chicken pot pie.  I would make the filling and then make biscuits separately.

I thought about looking for a recipe, but decided to wing it.  Two recipes that I have made before and like are Wolfgang Puck’s Chicken Pot Pie (https://wolfgangpuck.com/recipes/) and Ina Garten’s Seafood Gratin (https://www.foodnetwork.com/recipes/ina-garten/seafood-gratin-recipe-1953985).  I decided to riff off of both of them for the filling.  For the biscuits, it was mom’s classic biscuit recipe of course.

Here is what I came up with:

Chicken Pot Pie Filling:

  • 2 cups of leeks chopped (about one leek – I got the cleaned, packaged leeks at Trader Joes)
  • 2 cups chopped celery (since the leek was 2 cups, I based the rest of the veggies off of that)
  • 2 cups of chopped carrots
  • 2 chicken breasts, cubed
  • Oil (I used canola, olive oil would work too)
  • White wine (few splashes, maybe ¼ cup?)
  • 4 tbsp butter
  • ¼ cup flour
  • 2 cups milk (I used whole milk this time, you can also use part milk, part chicken broth)
  • Salt
  • Pepper
  • Herbs de Provence

In a skillet (I used cast iron) heat enough oil to coat the bottom of the pan over medium-ish heat.  Add the leeks, celery, and carrots.  Sauté vegetables until they reduce by approximately half (5 minutes-ish).  Add dash of salt.  Add splash of white wine, continue to cook for a few more minutes.  Once everything looks nicely softened, remove from pan (I just had a mixing bowl on the side to put things in to hang out).

Then throw the cubed chicken in the pan.  Season with salt, pepper, and a dash of herbs de Provence (if you want, I have a thing for thyme these days and like to use it whenever I think I can get away with it).  Once the chicken is cooked, remove from pan (I just stashed it in the same bowl with the veggies).

I had found a zucchini in the refrigerator, so I sliced it up and threw it in the pan to sauté for a few minutes too.  Mushrooms would be good too.  So, if you add any extra veggies, once they’re cooked, remove them to your storage bowl.

Then throw the butter in the pan.  Once it starts to melt, sprinkle in the flour and get your roux going.  This should pick up all the good bits that the sautéed veggies and chicken left in the pan.  Let the flour cook for a few minutes, then add the milk a bit at a time (I did not warm my milk first, which does make the roux seize up, but it will smooth out after it warms up, just keep stirring).  Add some salt and pepper to the sauce (it might have been fun to add some paprika or cayenne here…maybe next time).  Once the sauce is warm and starting to thicken, throw the chicken and veggies back in the pan.  Add fresh peas (1 cup?), stir to combine and let it sit there on low/medium low heat.

Now you can throw the biscuits together.

Mom’s Classic Biscuit Recipe

Preheat oven to 450.

  • 2 cups flour
  • 3 tsp baking powder
  • 1tsp salt
  • 6 tbsp shortening (I used unsalted butter this time)
  • 2/3 cup milk

Sift dry ingredients together.  Blend in butter or shortening.  Add milk.

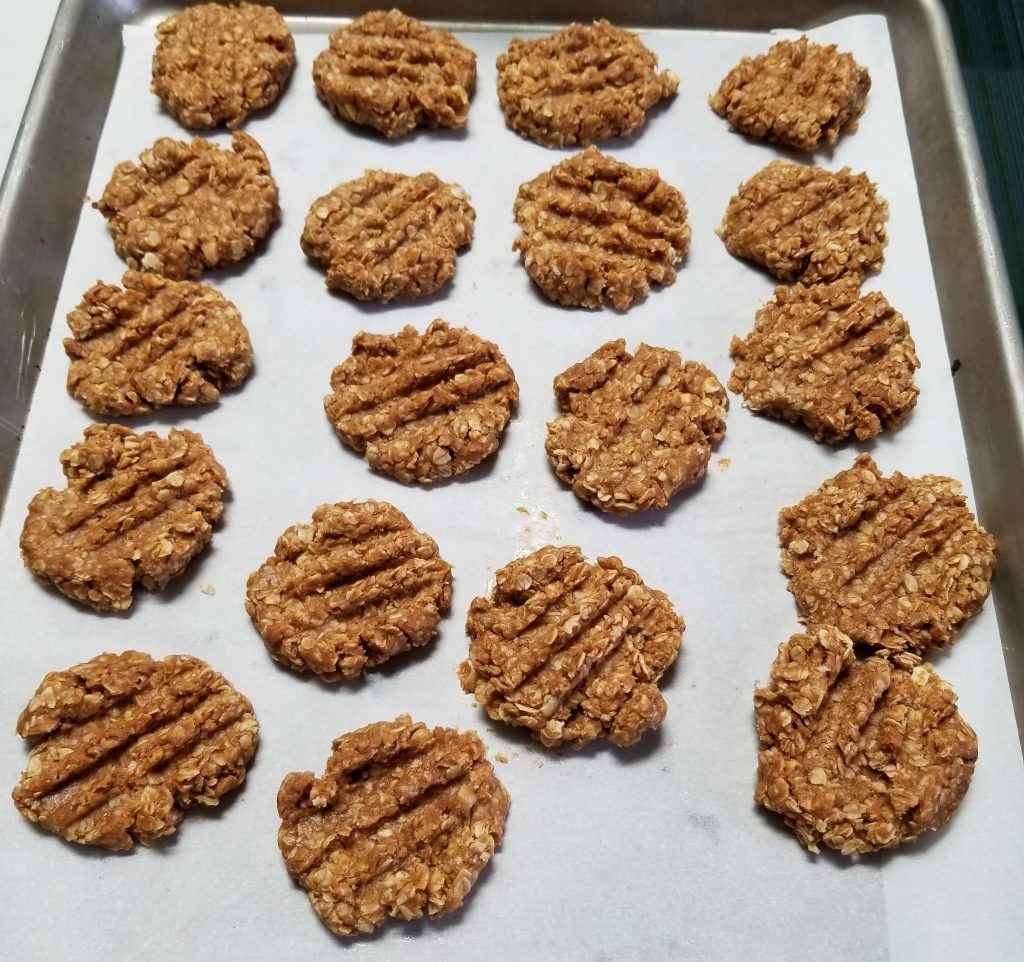
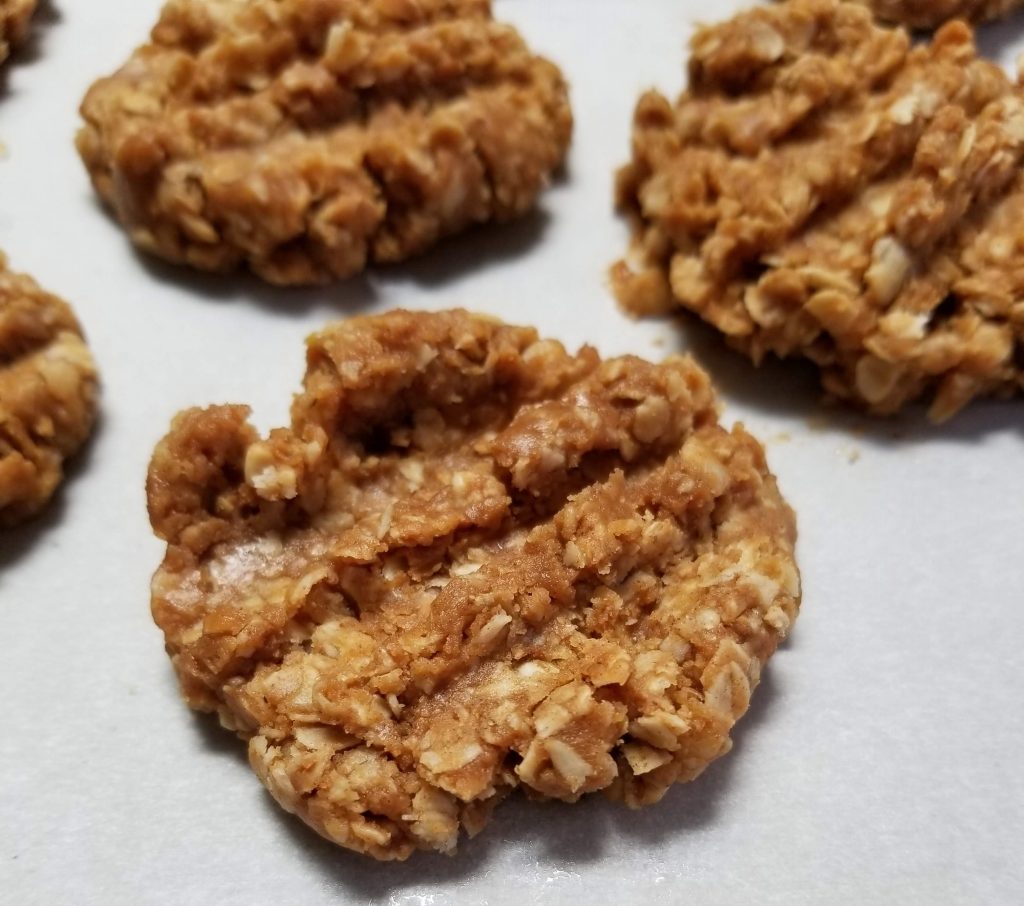
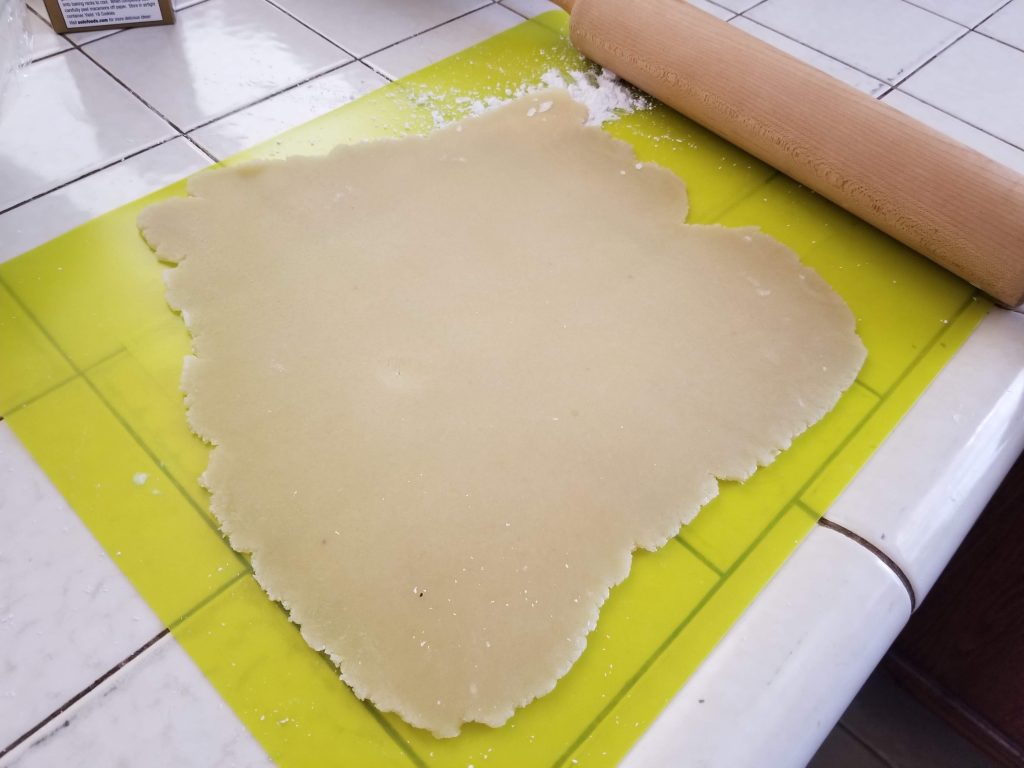
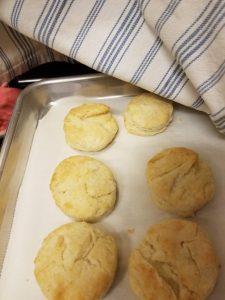
Once the dough comes together, turn it out on a floured surface.  Roll it out (I just mashed it out with my hand).  Use a biscuit cutter (or a glass) to cut the biscuits.  Place on baking sheet.  Bake for 10 minutes (they will be pale, but should be slightly golden on top).


I served the filling in a bowl with the biscuits on a plate on the side.  I had 2 tablespoons of butter from the stick that I used to make the biscuits with, so I whipped up a little batch of honey butter (yum!).

Overall, I think it came out really yummy.  I could have cooked the vegetables more, they were a little crisp, but I liked the fresh crunch with the creamy sauce.  It certainly is a lot more steps than sheet pan dinner, I don’t think that I would like to go through this much bother every week.