I generally like most kinds of cake but to tell you the truth, the one kind of cake that I love above all others is princess cake. Even though her name is “Princess” she is the queen of cake in my world.
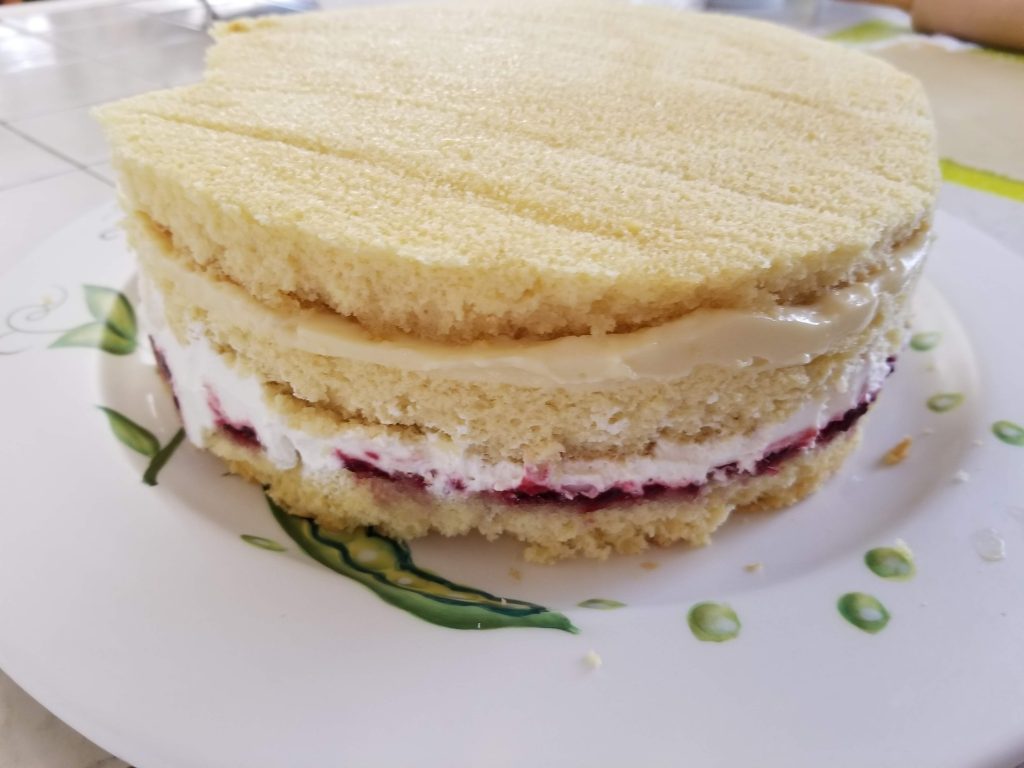
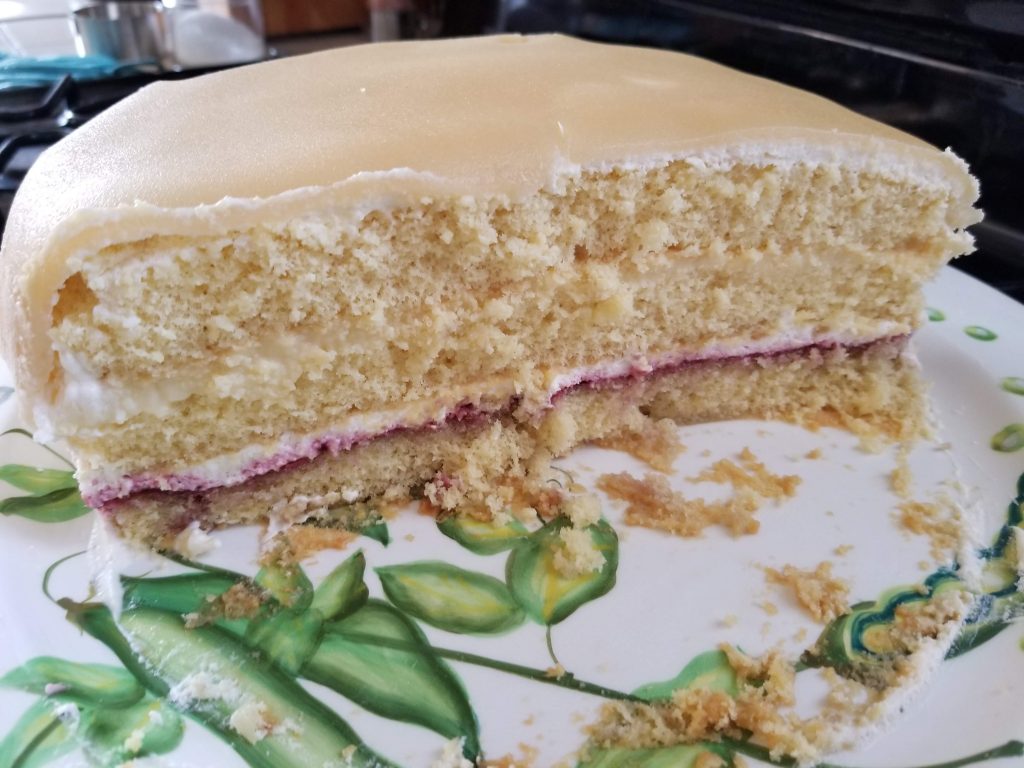
If you don’t know what princess cake is, it is a wonderful creation that begins with white cake soaked with almond syrup. One layer is filled with raspberry jam and whipped cream and the other layer is filled with pastry cream. Then the entire delight is frosted with whipped cream and covered with a beautiful, pale green layer of marzipan.
Your mouth is watering, I can tell.
The other day, while mindlessly scrolling the ‘gram, I came across a Martha Stewart Living video of someone making Scandinavian princess cake. Somehow, this video gave me the idea that I could actually make a princess cake myself. Ok, not somehow, it was because all of the ingredients were already prepared – the cake was baked, the pastry cream and the whipped cream were chilled, etc.
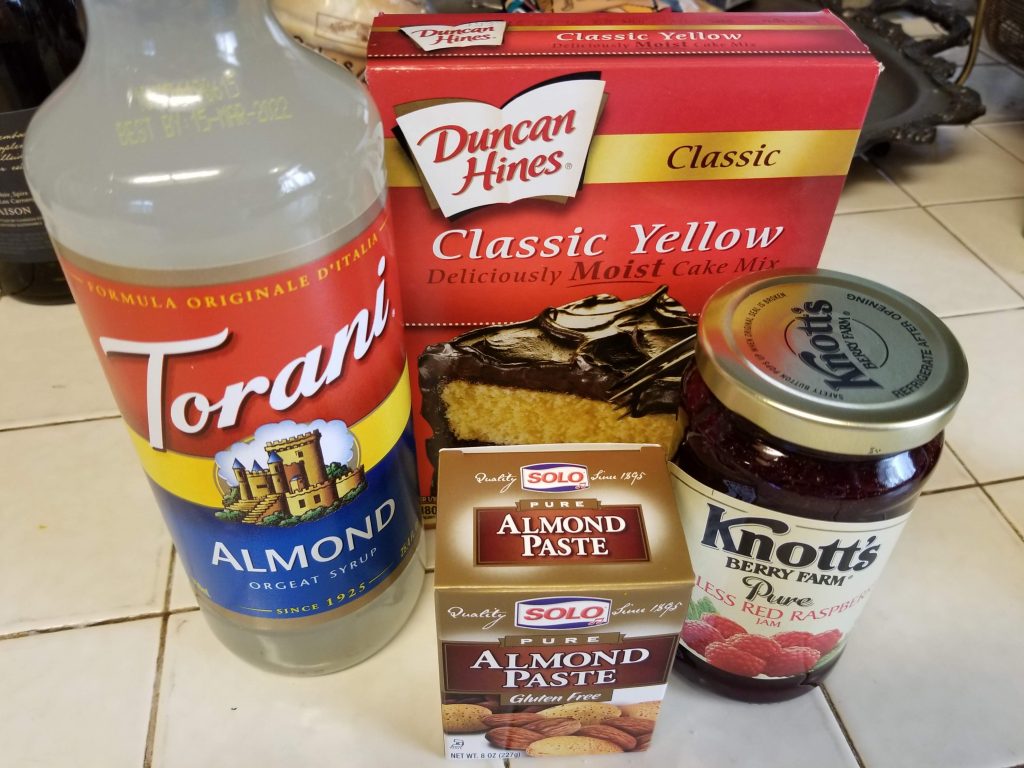
I overcame my fear of making pastry cream (Martha Stewart has a great recipe for “no fuss pastry cream” that I shared with you when I made coconut cream pie) during last year’s cream puff obsession. Since I had no intention to make raspberry jam, almond syrup, or marzipan myself, I felt confident that I had at least a moderate possibility of success.
I assembled my ingredients and made the pastry cream a day ahead. Then it was time for the big day.
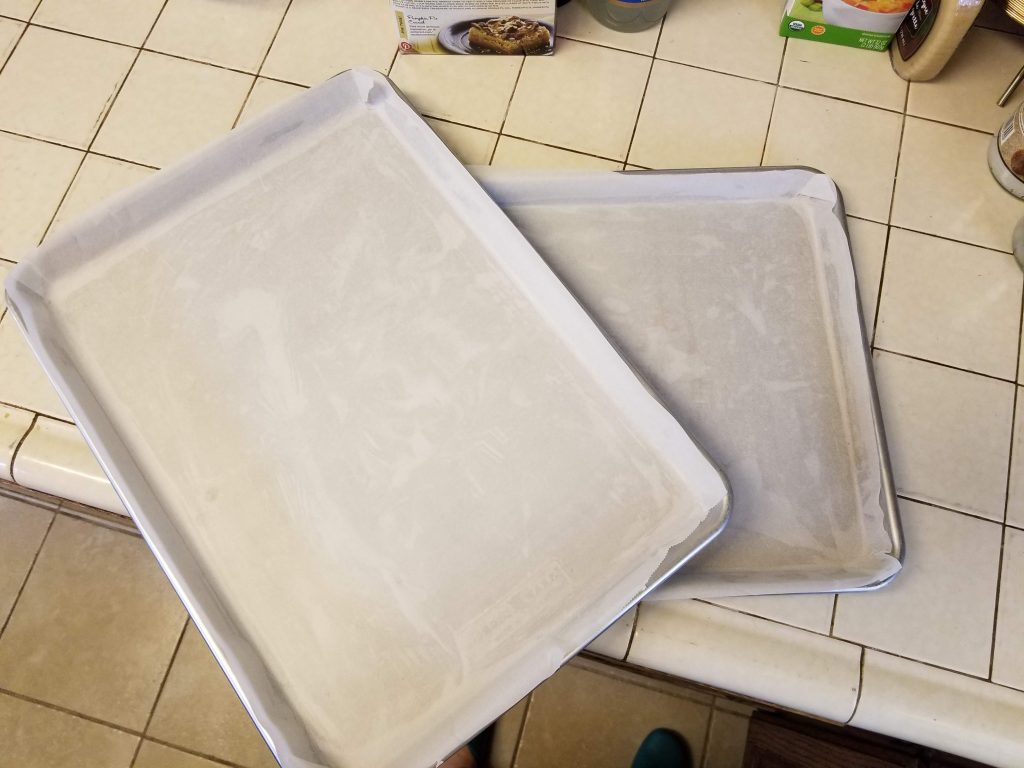
I needed three layers of cake. In the video, she cut out the rounds from a thin sheet cake. Ok, I can do that, I have half sheet pans. I greased the pans then covered them with parchment paper. One box of cake mix filled one pan (yes, I used box cake mix). Bake for 20 minutes. Perfect! I was making a 9” cake (using the ring from my springform pan for the mold) so I had to make a box of cake (good thing they were two for $3). I wound up with four rounds and contemplated making an extra layer.
Back to work. Cooled cakes were cut into rounds. The extra cake and trimmings went into the freezer, I’m sure that I’ll come up with something to do with it.
Now it was time to make magic happen:
- The ring was placed on an appropriately sized platter
- Round of cake
- Brush with almond syrup
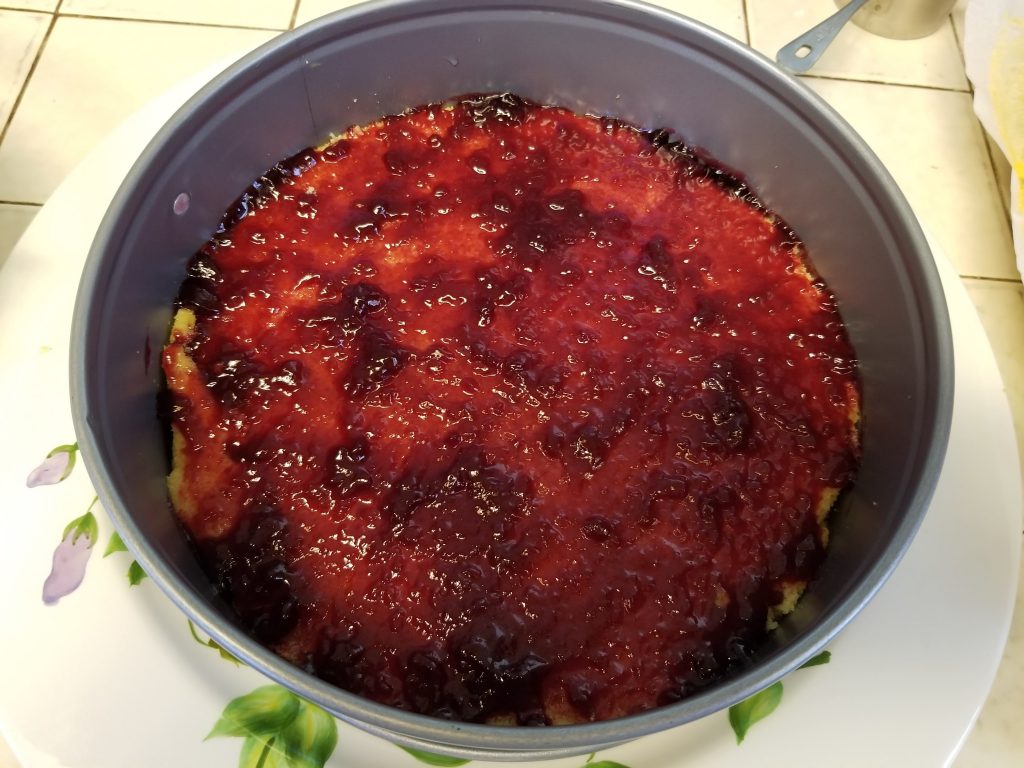
- Cover with raspberry jam (I bought seedless)
- Layer of whipped cream
- Round of cake
- Brush with almond syrup
- Layer of pastry cream (I wound up with about a cup of pastry cream left over to do something wonderful with)
- Round of cake
- Brush with almond syrup
- Cover and place in refrigerator to set
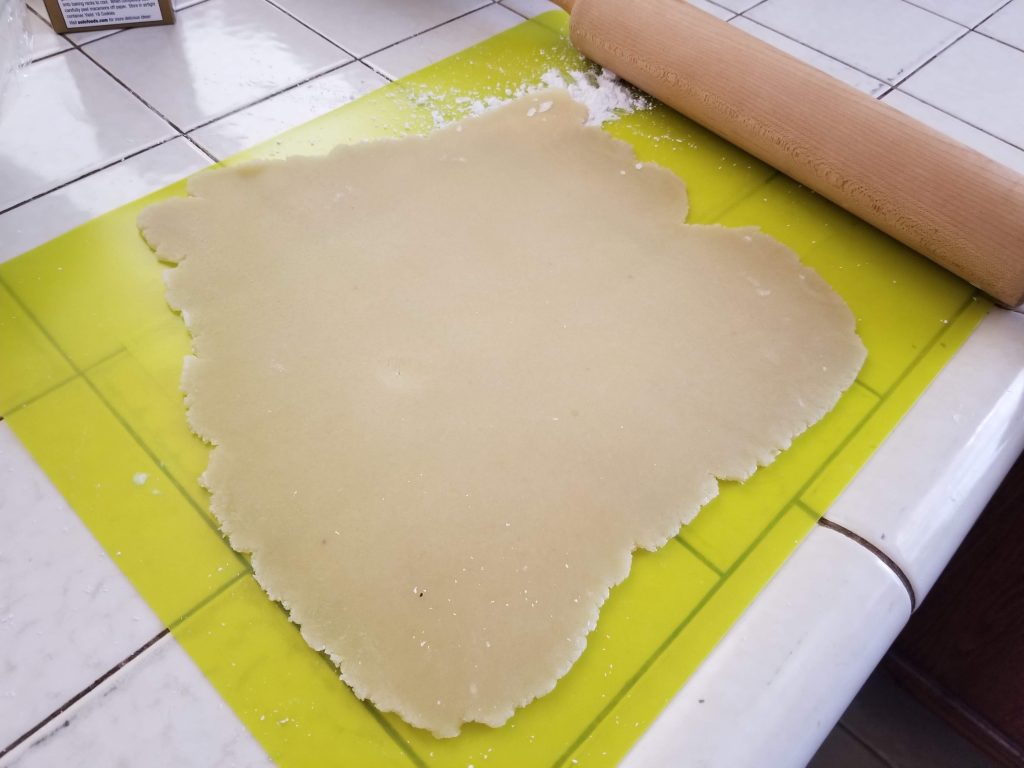
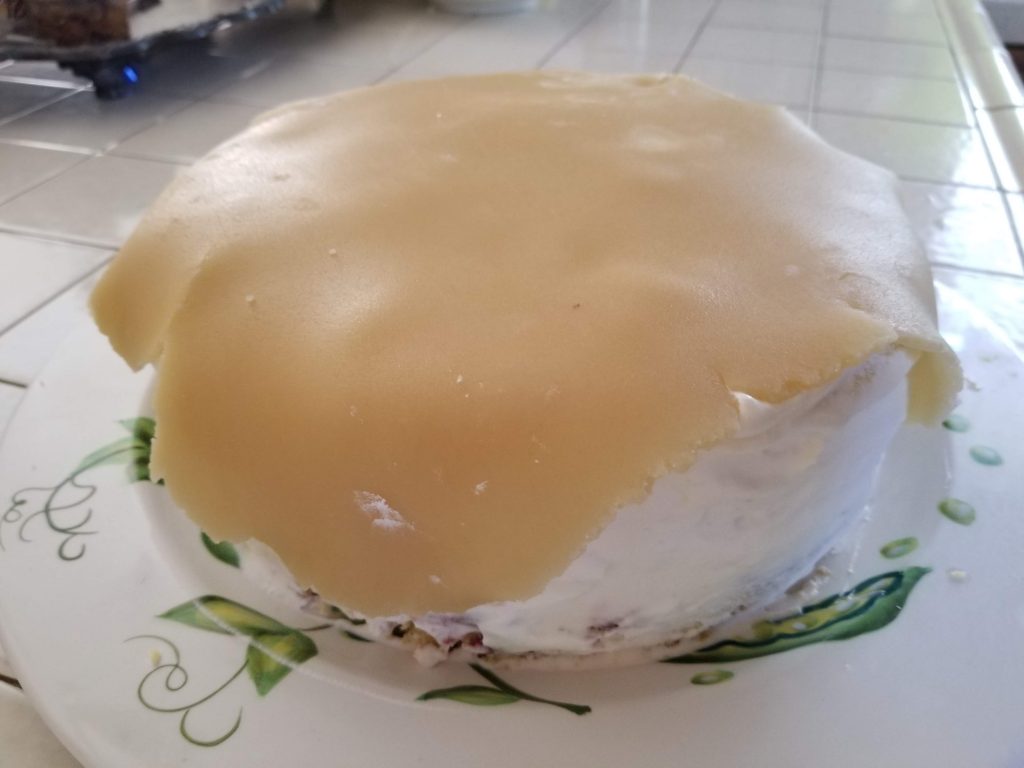
A bit later, I retrieved the cake, unmolded, and frosted the whole thing with whipped cream. Then back to the refrigerator to set while I rolled out the marzipan.
This is the part of our program where I made not one, but two unfortunate discoveries:
First, I didn’t actually have any food coloring hiding in the depths of my cupboard with which to dye my marzipan green. Bummer, but not that tragic, beige can be elegant, right? The second discovery was perhaps a bit tragic: one 8 oz. package of almond paste is not enough to cover an entire 9” cake. So, she wound up with a little beige overlay rather than an elegant, pale green coat.
The good news is that she did turn out fluffy and creamy and delicious. The better news is that the result was well worth the effort. Princess cake will be attempted here again very soon, and I fully expect that she will be properly robed when that time comes.
