As my adventures in landscaping continued, rather than shapeless days of digging, there were discrete tasks that needed to be executed in a certain order. I was so excited to get to the part where I had a finished patio that I had to keep reminding myself to take breaks and enjoy the process.
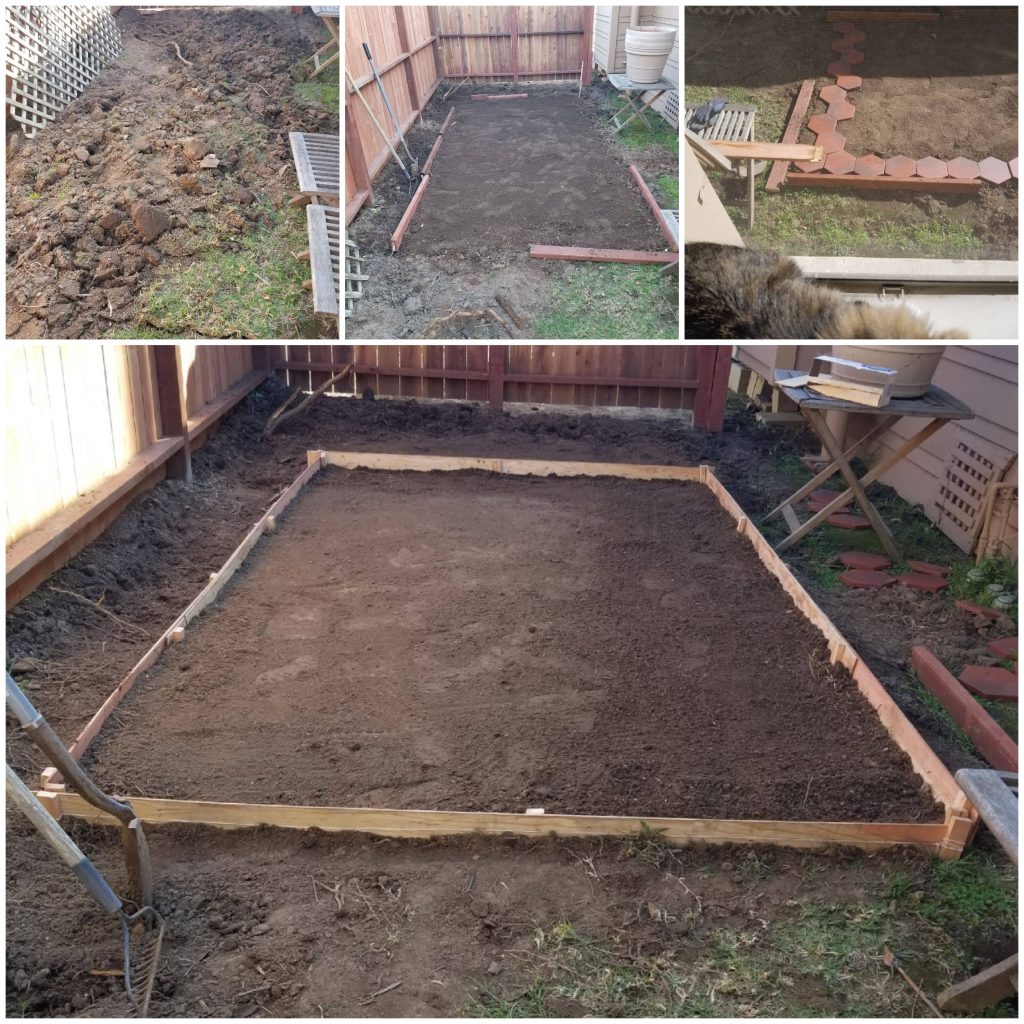
After consulting with Mr. Man about what he learned from his research, I forged ahead, driven by enthusiasm and determination rather than knowledge or skill. There was a rainstorm pending for the end of the week and it seemed like a completed patio would weather a storm better than a half-finished project. Over the course of five days, I went through the steps of:
- Framing
- Leveling
- Lining
- Installing the base layer
- Leveling
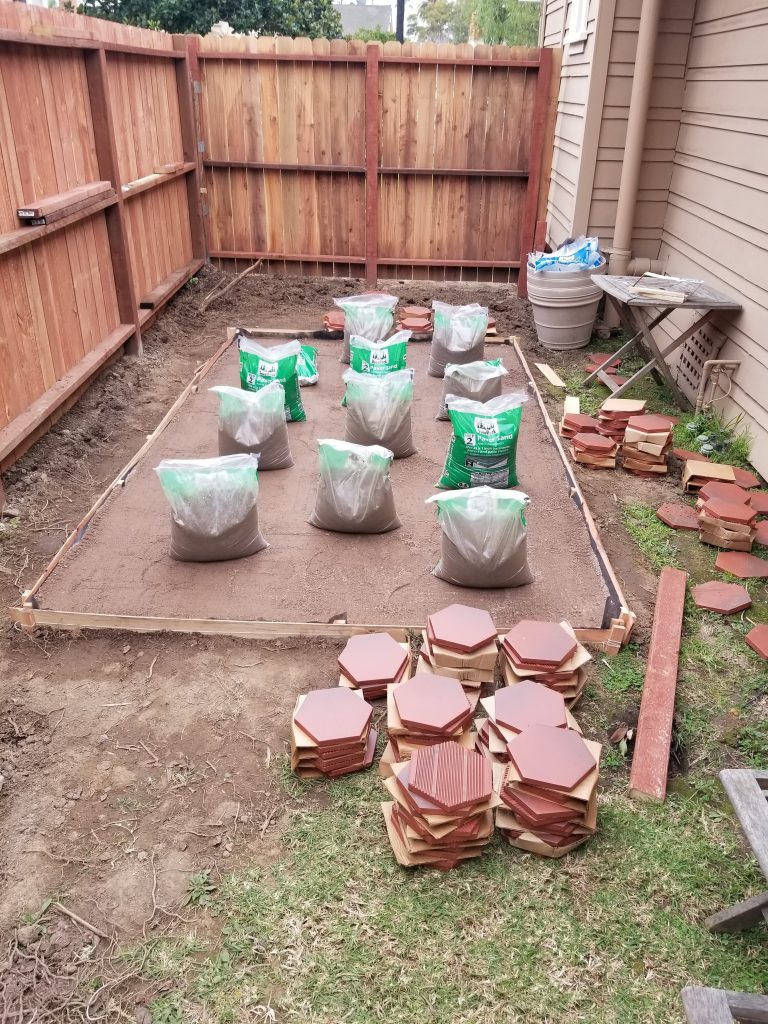
- Installing the fill layer
- Leveling
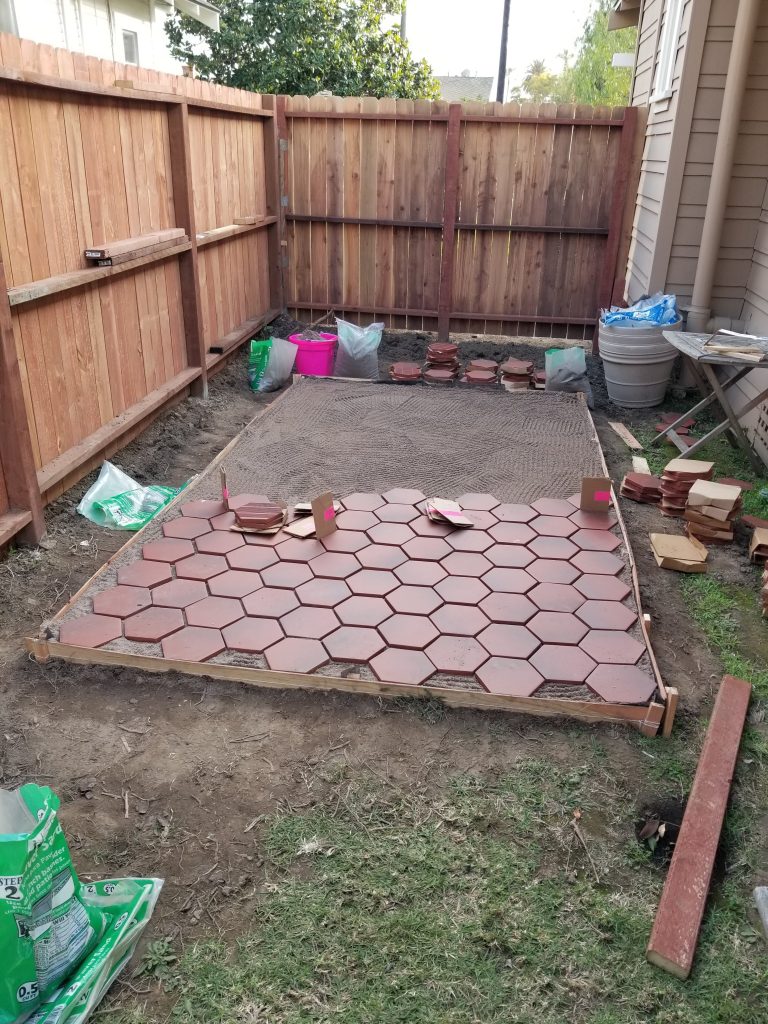
- Tile setting
- Filling
- Watering
It all went relatively smoothly although I did basically fake it when it came to leveling.
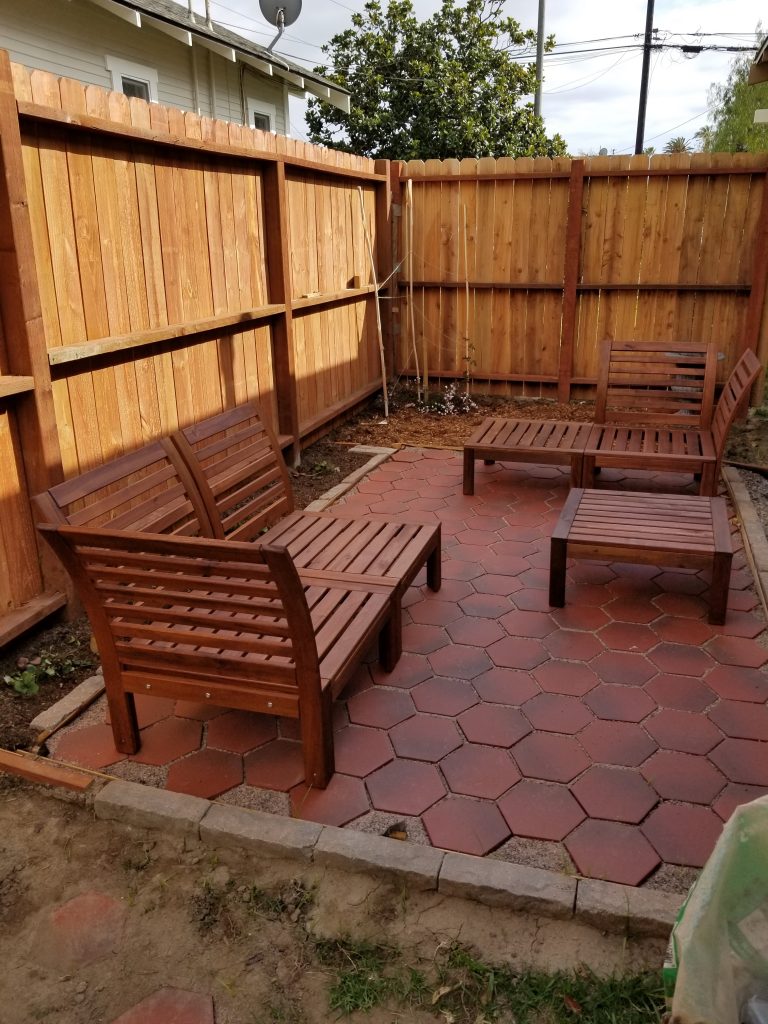
The great thing about dry setting tiles is that there are no long-term consequences to messing up. You can just pull it all out and start again until you get it right. Which is exactly what I did. Many times. After the third or fourth try, I started to figure it out. I wouldn’t say that I did a good job, but I did the best job that I was capable of. And when I get to the point that I can no longer tolerate my shoddy workmanship, I will just pull it all out and try again. But look at that! I built a patio!


Now what? It was just kind-of there. Sitting in the middle of a bunch of dirt. What needed to happen for it to get to the point that I could sit out there comfortably, sipping rosé and reading books?
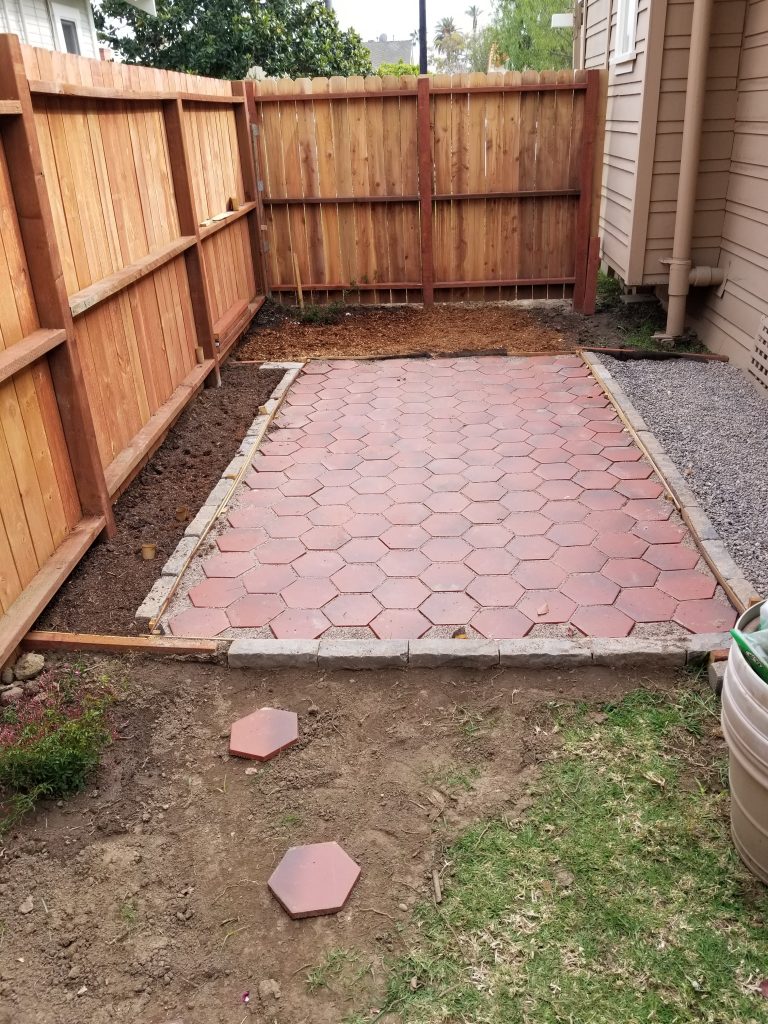
Over the course of the next several weeks, I puttered, tweaking here and there (including adding a patch of pea gravel, there had to be pea gravel somewhere). I have been slowly adding some plants and finally got around to picking up some furniture. Mr. Man has promised to run some irrigation for me but in the meantime, I have just been making a point of going out every couple of days to hand water and tell all my new little plants how proud I am of them. It will be a while until they are established so I want to make sure that they are getting positive reinforcement while they are settling in.
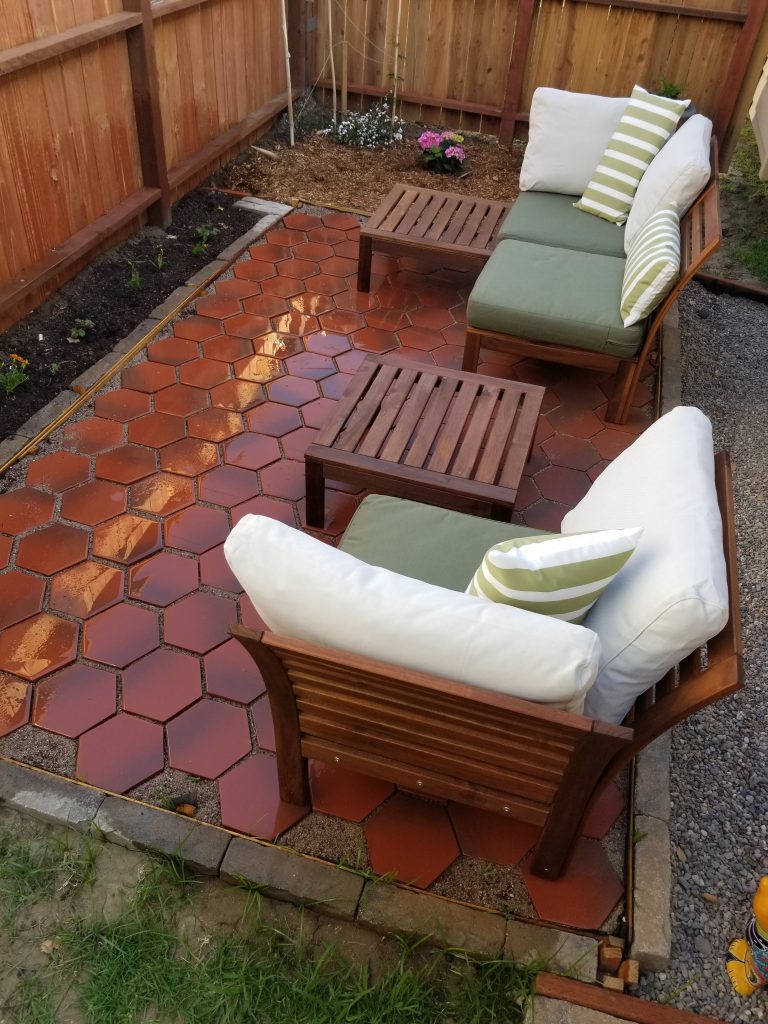
Now that it is starting to feel like springtime, I am looking forward to making use of my little outdoor getaway. I’m sure that I’ll find more tweaks and finishing touches to do, but my adventures in landscaping have already been a very satisfying success!

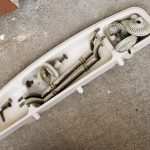
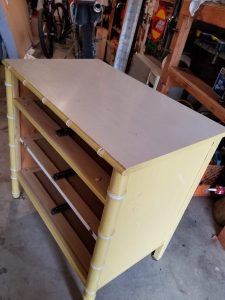 bottom being prepped to paint